Wednesday, July 13, 2016

Survival Cache - July Idea of the Month

_______________________________________________________________________________
Survival Cache                                                                          [kash]
             (noun)
A buried or hidden container that is filled with supplies that can be accessed when needed.
Often placed on someone’s property hidden via burying. They are also placed along evacuation/bug out routes to be accessed when needed during traveling.
_______________________________________________________________________________

This survival cache is a perfect way to store needed items in a safe, hidden location. These can be accessed at any time but mainly used for natural disaster situations. Some of the things I put in mine are ammo, dried food, water purifying tablets, medication, a good pocket knife, flint and steel, solar blanket, rope, an empty soup can for boiling water, etc. If for some reason you lost everything and you had a cache somewhere you would have access to some basics with a long shelf life. I have a couple buried. One at the corner of a shed at a friend's house and one on another property. They seal real well since this pipe is made to go into the ground and not leak. You can buy the 4 inch ABS pipe and parts at Home Depot or Lowe's or a plumbing store.

Survival Cache for Emergency Situations

Supplies needed (makes 1 cache):
• 4 inch diameter ABS plastic pipe [you choose length]
• ABS glue
• ABS 4 inch cap [to glue on bottom]
• ABS 4 inch cap [removable to make the top]
• Flathead screwdriver
• Empty 40 oz. Jif peanut butter plastic jars {Note: I’ve found these work perfectly - flat on top and bottom for stacking, they seal real well, good for a second barrier, not too tight or too loose in the 4 inch pipe, they keep things separated, and you have extra containers for water or whatever things you need }
 How to:
1. Glue a cap on one end of the pipe
2. Fill jars with your survival products
3. Put top cap on (the removable one) and
    tighten with a screwdriver
4. Bury in a safe location. I like to bury them
   vertical, but some like horizontal; it is your preference.

Survival Cache assemblySurvival Cache Containers

I like digging a vertical hole a little bigger than the pipe. Then I set the pipe in the hole and stuff some foam around it to fill the hole. Then I have a small piece of plywood about 12x12 inch that I recess into the soil on top of the hole about 8 inches. I then put dirt on top of plywood so I don't have to dig much to get it out. In an emergency I would dig it up and take the whole thing with me. I could use the pipe for an extra container or something.
I hope this cheap, redneck emergency preparedness idea is useful for you!


Monday, June 6, 2016

Easy Soup Base - June Idea of the Month

After a natural disaster or during an emergency situation, food can be scarce.
Knowing how to make the small amount of food you might have available,
 into something good to eat is essential.

For an easy soup base take a gravy packet and double the water that it calls for.
We like McCormick gravy, it calls for 2 cups cold water so we add 4 cups of water (if you like the soup thicker: only add 3 cups of water to 1 McCormick’s gravy packet).
 Then, add salt to make up the difference for the extra water. Next, add some canned beef, canned corn, and canned baby potatoes. Finally, stir until the soup is at a low boil.
This soup is really great and very easy to make! Try it!


Friday, May 20, 2016

Chicken Cooker - May Idea of the Month

Chicken Cooker
Making slow-cooked, smoked meat/potato wedges etc. is nearly effortless with this method of cooking.
Meadow Creek, a barbecue website, crafts chicken cookers that make it possible to easily cook incredibly delicious chicken
To view these “BBQ Pits” go here: http://www.meadowcreekbbq.com/bbq-series.php
I decided to make a small version of their type of cooker for everyday home use and camping. It worked really well!

The concept:
·    The steel box encases the contents (briquettes, grates, food items). This serves to keep  
     heat inside the cooker and speed up the cooking process.
·    The food is heated by briquettes in the bottom of the box. Note: DO NOT use briquettes 
     with lighter fluid, use only plain briquettes. A briquette chimney is used to initially heat
     these.
·    Small vent holes feed briquettes oxygen, but you must be careful to not give it too much
     oxygen or your chicken will burn. I put six quarter-inch holes on the sides close to the
     bottom of the box.
·    The meat is sandwiched between two grates
·    The distance of the two grates is 18 inches from the briquettes (this measurement is very
      important!)

My box is 16x16 x22 H. The two racks are hinged together on one side.
I used an oven rack [the kind with the bars close together, then I cut it to the size I needed]. I used a slip ring ( just 2 little pipes welded together ) to hold the rack together but you could use wire or a hose clamp etc. I made the box by welding cut steel together. You could use 2 oven racks and some cinder blocks if you couldn't weld. You just need some type of fireproof box.   
How to:
1.   Obtain a 7 lbs pack of bone-in chicken, I prefer thighs. Lay them on one rack and close other rack on top of them, clamp the non-hinge side. This makes a “sandwich”, season both sides with your choice of spices.


2.    Light two chimney’s worth of briquettes
3.    After 30 minutes, dump them in the bottom of box/cooker.
4.    Level the briquettes out with a shovel

5.    Set rack of preloaded chicken in slots (located at the top of the cooker)


6.    Shut the lid of the cooker 
7.    For crispy chicken: Flip every 10 minutes for an hour and twenty minutes


8.     For less crispy chicken (regular): Flip every 10 minutes for an hour and ten minutes


9.     Remove chicken grates from cooker, set in a safe place


 Once the chicken is done, there is plenty of heat left over in the bottom of the cooker for use in Dutch oven cooking, or for cooking baked potatoes etc.


Friday, April 1, 2016

Personal Safety - April Idea of the Month


Personal Safety

Have you ever worked in the rain without a raincoat or been out in a snow storm that you weren't ready for? Have you then had to clean up a muddy mess?

Having the right gear and clothing for the situation you are in is so important. I milked cows through out my teenage years and remember many times getting so dirty and so wet working with those cows. It was miserable. One summer I got so wet that I ended up getting pneumonia and spent a few days in the hospital. Back then they put a tent over the bed for pneumonia patients and I remember having to keep straightening the plastic tent so I could watch tv through the plastic. Funny what we can remember from so long ago.

Because of those memories I have realized how important it is in emergency situations to insure safety by having the right gear and protective practices. Having the things you need for personal protection provides a way to keep from cross contamination of sickness or food illnesses. It’s good to have waterproof personal protective equipment for things like cleaning up from sick kids, going in a quarantined room, butchering meat, canning etc. Waterproof equipment is also easy to sanitize with sanitizing wipes, bleach water, paper towels etc. Below is a list I have compiled of items to help you be prepared with the right gear for personal safety.

Personal Safety Items for Emergency Situations
Equipment needed for personal safety: 

  • Heavy duty vinyl waterproof apron(s)
  • Rubber over-boots
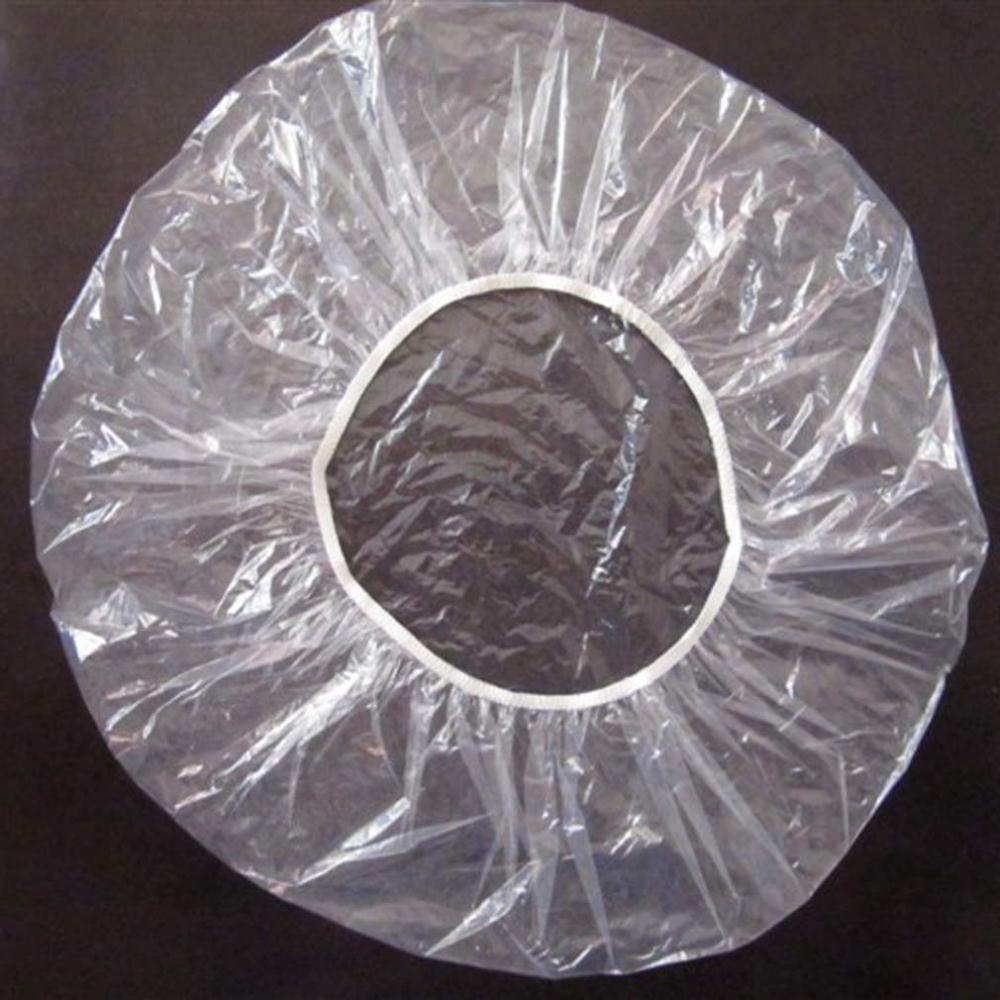
  • Shower cap(s)
  • Rubber gloves
  • Safety glasses
  • Mask(s)
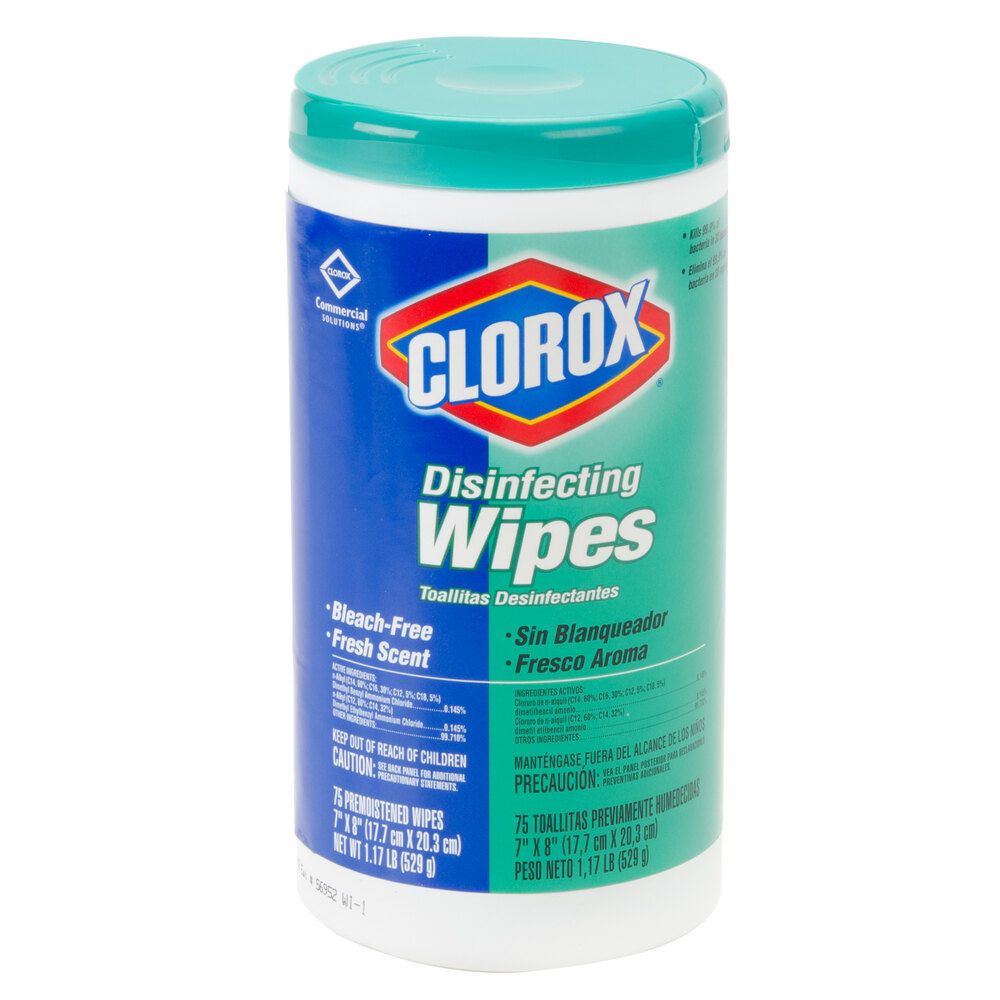
  • Sanitizing wipes

Photo credits:
http://g01.a.alicdn.com/kf/HTB1GkgUKpXXXXaoXFXXq6xXFXXXU/Waterproof-Home-font-b-Shower-b-font-Bathing-Elastic-font-b-Cap-b-font-Disposable-font.jpg


Tuesday, March 1, 2016

Emergency Suitcase - March Idea of the Month

Instead of having an empty suitcase in your closet, pack your suitcase as if you were going on a trip, with some extra clothes, bath kit, and some cash.

In case of a family, medical, or natural disaster emergency, you can grab-and-go on a minute's notice.
For example, if you had a family emergency out of town, you could grab your emergency suitcase and be on your way.  

It also helps to know your blood type, in case a family member/friend needs a blood transfusion.


Saturday, February 13, 2016

Emergency Toilet Paper - February Idea of the Month

Toilet Paper is something you might not consider storing for emergency situations.
But running out of toilet paper can become an emergency situation!!
In an emergency, you can take off your sock(s), cut the top part(s) off with your pocketknife, and use it for toilet paper.
Make sure to leave some elastic band on your socks to keep it on your ankle.

Emergency Toilet Paper


Tuesday, January 19, 2016

Carbon Monoxide (CO) Can Kill

Carbon monoxide (CO) is produced when a fuel such as charcoal, gas or petrol burns incompletely.
 
This could be because an appliance isn’t working properly or might simply happen as part of its normal function. Barbecues, for example, produce carbon monoxide even when they are working well.
 
Carbon monoxide is a colourless, odourless gas and is poisonous. In high concentrations it can kill swiftly. In smaller concentrations CO poisoning can give symptoms similar to flu or food poisoning. Look out for headaches, nausea and vomiting, dizziness, drowsiness and weakness - but the best advice is to avoid any chance of being poisoned in the first place.
 
Be careful when burning any type of fuels in an emergency.
Having a battery operated CO detector can be a life saver.